The Ultimate Guide to Pool Tile Installation
Pool tile installation is an essential aspect of any swimming pool renovation. Not only does it enhance the aesthetic appeal of your pool, but it also contributes to its overall functionality and longevity. Whether you are building a new pool or updating an existing one, understanding the nuances of tile installation can save you time and money while ensuring a beautiful finish. In this comprehensive guide, we will explore every facet of pool tile installation, focusing on materials, methods, maintenance, and much more.
1. Understanding Pool Tile Materials
The first step in the pool tile installation process is choosing the right materials. There are several types of pool tiles available, each with its own benefits and drawbacks. Here’s a detailed breakdown:
- Glass Tiles: Known for their elegant appearance and vibrant colors, glass tiles are waterproof and do not absorb chlorine or algae. They allow light to reflect beautifully in water, creating a stunning visual effect.
- Ceramic Tiles: Ceramic tiles are durable and come in a wide range of colors and designs. They are resistant to fading and easy to clean, making them a popular choice among homeowners.
- Porcelain Tiles: Porcelain is denser and less porous than ceramic, making it one of the best choices for pool installations. Its water resistance and durability ensure that the tiles remain intact over time.
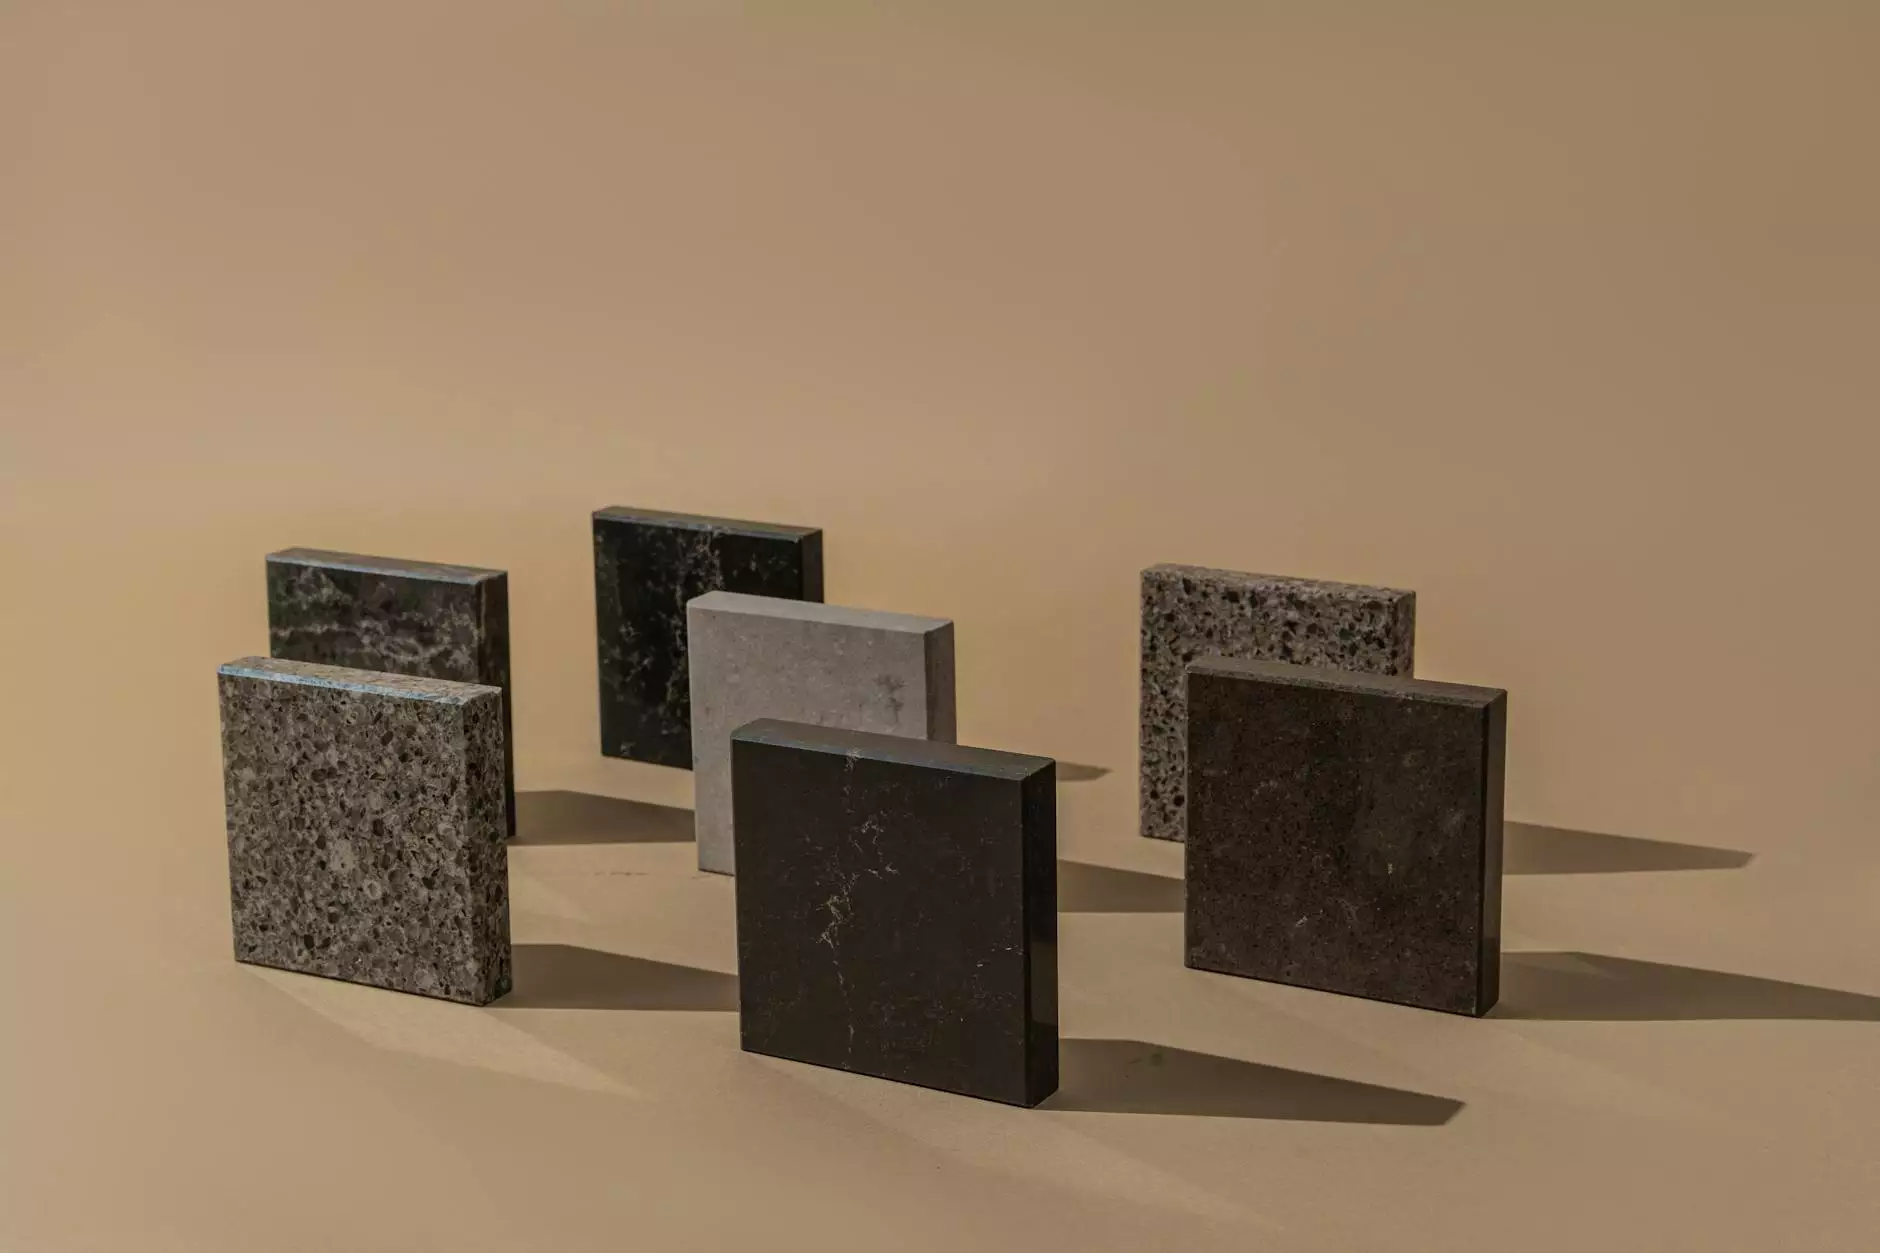
- Stone Tiles: Natural stone tiles, such as slate or marble, provide a luxurious look. However, they require more maintenance to protect against staining and wear.
- Mosaic Tiles: Often used for decorative purposes, mosaic tiles can create intricate designs and patterns, adding a personalized touch to your pool.
2. Preparation for Installation
Before starting the pool tile installation, proper preparation is crucial for achieving the best results. Here are steps you should consider:
2.1. Assessing the Surface
Ensure that the surface where you intend to install the tiles is clean, dry, and free of any debris. For existing pools, remove any old tiles and repair damages to the base material to ensure a level surface.
2.2. Planning the Design
Decide on the tile layout and design. Consider patterns, colors, and how the tiles will flow from one area to another. It’s wise to create a mock-up using sample tiles to envision how the final look will appear.
3. The Installation Process
The installation phase is where the magic happens! Here’s a detailed look at the pool tile installation process:
3.1. Mixing Thinset Mortar
Begin by mixing thinset mortar, which acts as the adhesive for the tiles. Follow the manufacturer’s instructions to achieve the proper consistency. A thicker mix may be needed for uneven surfaces.
3.2. Applying Thinset
Using a notched trowel, apply the thinset to the surface in small sections to ensure it doesn’t dry out before you place the tiles. The notched trowel creates grooves that help with adhesion.
3.3. Setting Tiles
Start placing the tiles onto the thinset, pressing them firmly into place. Use tile spacers to maintain consistent gaps for grout. Pay close attention to alignments, ensuring that the tiles fit well and create a uniform design.
3.4. Cutting Tiles
For edges and corners, you will likely need to cut tiles to size using a wet saw. Take your time to ensure clean cuts, as jagged edges can compromise the overall appearance.
3.5. Grouting
Once the thinset has set, usually after 24 hours, remove the tile spacers and prepare to grout. Mix the grout according to the manufacturer's specifications and apply it using a rubber float. Be sure to push the grout into the spaces between the tiles thoroughly.
3.6. Cleaning Excess Grout
After grouting, clean off any excess grout from the surface of the tiles using a damp sponge. Take care not to pull grout from between the tiles. Allow the grout to cure fully, as recommended.
3.7. Sealing the Tiles and Grout
To enhance the durability of your pool tile installation, apply a sealant to both the tiles and grout after curing. This will help protect against stains and moisture, extending the lifespan of your pool tiles.
4. Maintenance Tips for Pool Tiles
After your tiles are installed, proper maintenance is vital for keeping them in top condition. Here are some essential maintenance tips:
- Regular Cleaning: Clean the tile surface regularly using a non-abrasive cleaner. This helps prevent algae buildup and keeps your pool looking pristine.
- Inspect for Damage: Regularly check for any cracks or chips in the tiles. Early detection allows for timely repairs, preventing further damage.
- Adjust Water Chemistry: Maintain the proper balance of pH and chlorine levels in your pool. This prevents discoloration and deterioration of the tiles.
- Brush the Pool: Use a pool brush to clean the tiles and prevent algae growth. Pay special attention to corners and areas around fittings.
- Seasonal Maintenance: During off-seasons, ensure that your pool is drained and covered correctly to protect the tiles from the elements.
5. Common Mistakes to Avoid
While pool tile installation can be a rewarding DIY project, there are common pitfalls to watch for, including:
- Neglecting Surface Preparation: Failing to properly clean and prepare the surface can lead to tiles not adhering correctly, resulting in future issues.
- Skipping Grout Sealing: Many homeowners forget to seal grout, which can lead to staining and cracking over time.
- Overcrowding Tiles: Trying to fit too many tiles in a small area without leaving proper grout lines can create an uneven surface and unsightly appearance.
- Ignoring Manufacturer’s Instructions: Each type of tile and adhesive has specific requirements. Always follow the instructions closely for the best results.
6. Hiring Professionals vs. DIY Installation
Deciding whether to tackle the pool tile installation project yourself or hire professionals is an important decision. Here are some considerations:
6.1. DIY Advantages
- Cost Savings: Handling the installation yourself can save considerable labor costs.
- Personal Satisfaction: Completing the job yourself provides a sense of accomplishment and a personal touch to your pool area.
6.2. Professional Advantages
- Expertise and Experience: Professionals have the skills and knowledge to handle unexpected issues that may arise during installation.
- Guaranteed Finish: Hiring experienced tile installers typically ensures high-quality workmanship and a durable, lasting finish.
7. Conclusion
In conclusion, pool tile installation is a multifaceted process that, when done correctly, offers both beauty and functionality to your swimming pool. By choosing the right materials, preparing properly, and executing the installation with care, you can transform your pool into a stunning oasis. Whether you choose to DIY or hire professionals, the effort you put into your tile installation will undoubtedly enhance your backyard experience for years to come.
For more information on pool renovations, including swimming pools and water heater installation and repair, visit us at poolrenovation.com.